Geometer's Sketchpad/ESCOT Runner-Builder Pi Activity


Introduction:


The purpose of this tutorial is to:

1. to give you an overview of the steps involved in creating an ESCOT Runner applet from a Geometer's sketchpad worksheet.
2. to help you familiarize yourself with the working environments of each of the tools that are involved (Geometer's Sketchpad, Java Sketchpad, and the ESCOT Runner Builder).

In this activity, you are going to create a sketch in Geometer's sketchpad that you will then convert into a simple ESCOT Runner applet which demonstrates that the ratio between the area of a circle and the area of a square formed by its radius is equal to pi. The general steps are:

  1. Create a dynamic "circle and square" sketch in Geometer's sketchpad.
  2. Use Java Sketchpad to save the sketch as an applet.
  3. Add components in the ESCOT Runner-Builder that calculate the area of the circle, the area of the square and the ratio of the two.
    Activity 1: Produce the Geometer's Sketchpad Worksheet

    Overview:
    In this activity, you will use Geometer's Sketchpad to produce the basic sketch that is required for this demonstration.

    Procedure:
    1.

    Load Geometer's Sketchpad

    2.

    Use the point tool to construct two points. Ensure that they are both selected and choose Segment under the Construct menu to construct the segment between them.
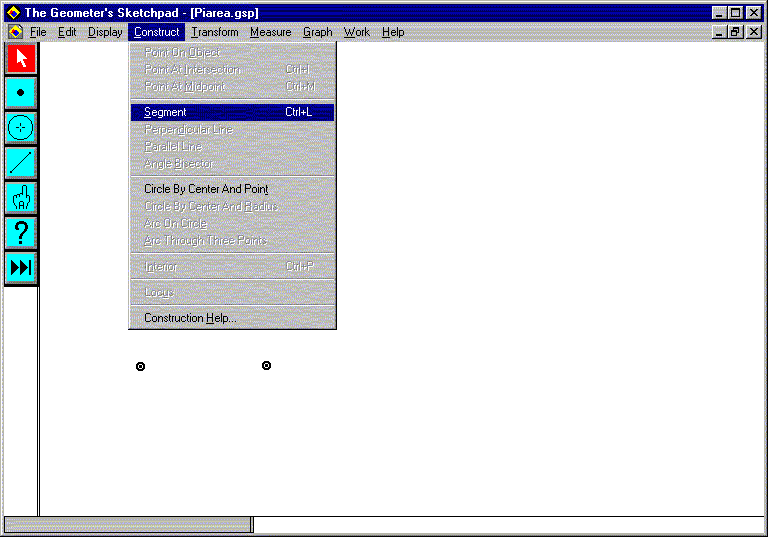
    piarea no. 1


    3.


    1. Select the segment and choose Point On Object under the Constructmenu to construct a point on the segment.

    2. Construct another segment between the left hand end point of the original segment and the new point.

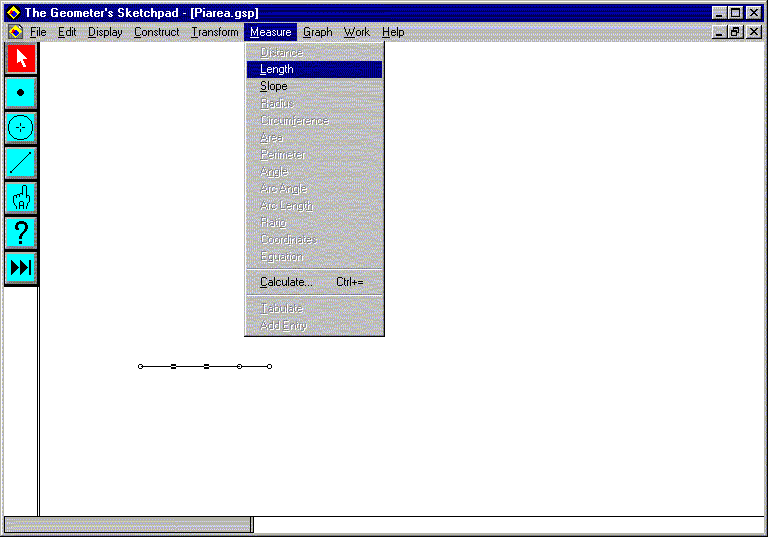
    3. Select this new segment only and measure its length by choosing Length under the Measure menu:
      piarea no. 2

      (Check to make sure that you measured the right length by sliding the interior point back and forth on the segment. Your measured length should change.)

    4

    You will now start to construct the other sides of the square.

    1. Select the length measurement and choose Mark Distance under the Transformmenu.
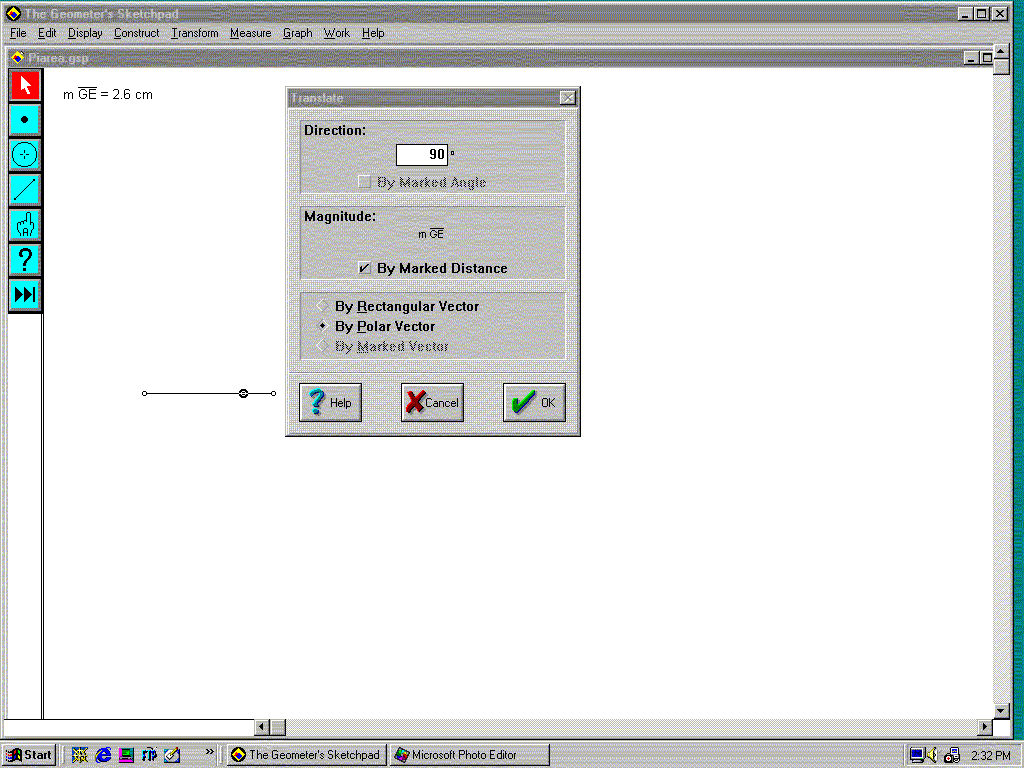
    2. Select the moving point on the segment and choose Translate under the Transformmenu. You will need to translate the point vertically (90 degrees) by the Marked Distance:
      piarea no. 4
    3. Construct the perpendicular segment between the point you translated and its image after the translation.

    5

    Complete the construction of the square by:

    1. Constructing perpendicular lines to the two segments that you have constructed.
    2. Construct the fourth point of the square by selecting the two "new" lines and choosing Point at Intersection under the Construct menu.
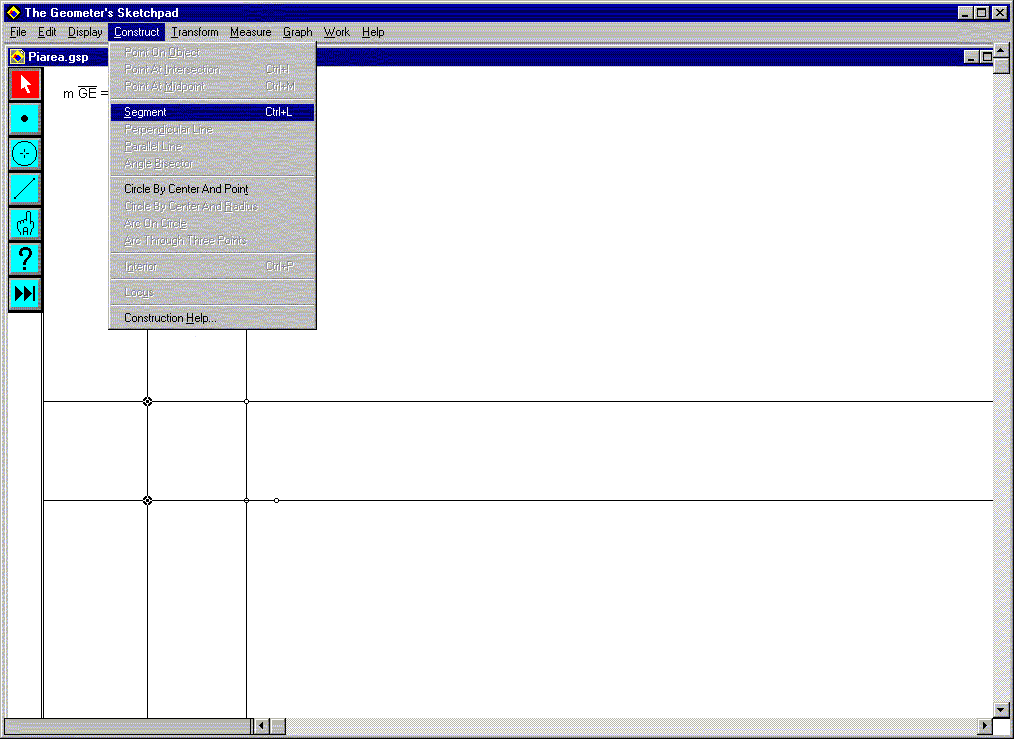
    3. Select the appropriate points to construct the remaining two segments:

      piarea no. 4


    4. Use the Hide option of the Display menu to select and hide the extended lines.
    6

    Construct the circle by selecting first the left hand end point and then the interior segment and choosing Circle by Centre and Radius under the Construct menu. Your worksheet should look like:
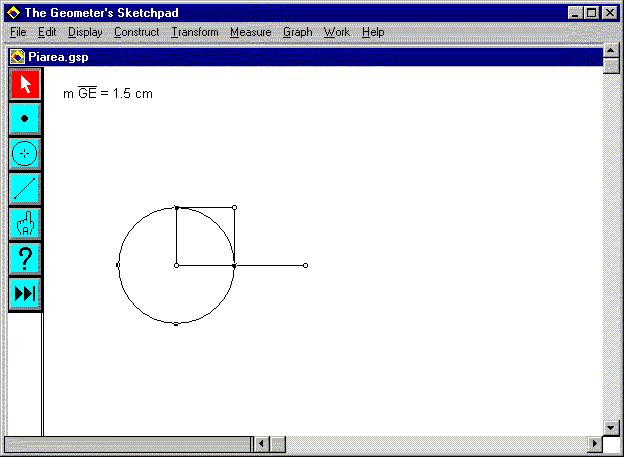
    piarea no. 5


    7

    Use the Hide option of the Display menu to hide the original segment and its right hand end point.
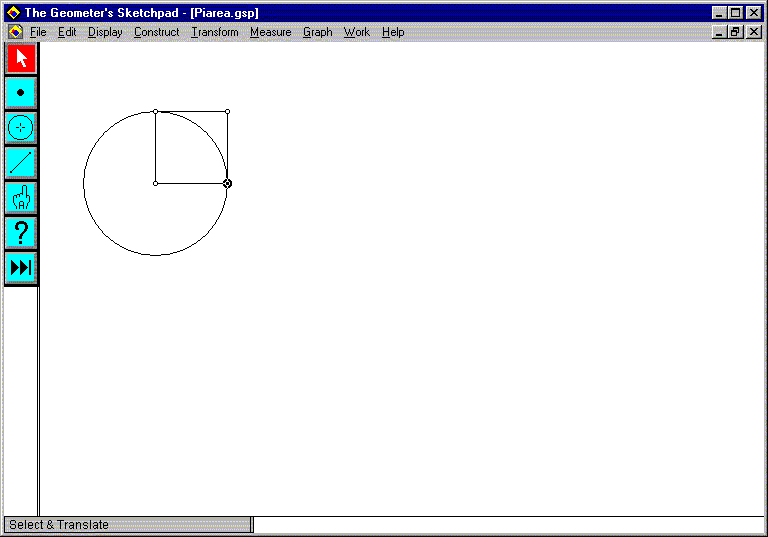
    piarea no. 6


    Activity 2: Use JSP to Convert the Sketch to an Applet

    Overview:
    In this (very short) activity, you will use Java Sketchpad to save your sketch as an applet embedded in an HTML file.

    Procedure:
    1.

    Load Java Sketchpad and load your sketch of Activity 1.

    2.

    Save your sketch as an HTML file. That's it!


    Activity 3: Add Components in the ESCOT Runner-Builder

    Overview:
    In this activity, you will modify your applet using an ESCOT spreadsheet component.

    Procedure:
    1.

    Load the Runner-Builder and click and drag to expand the workspace.

    2.

    Click on the bean symbol and add a Sketchpad component. You will need to set this component to be the HTML file that you created in Activity 2. You may need to click and drag to make your sketch visible.

    3.

    Click on the bean symbol again to add a Spreadsheet component. Move it to a location below your sketch.

    4.

    Select your sketch (an easy way to do this is to click on its name in the right hand window) and then move the mouse over your sketch and right click. This will give you the data import/export options for your sketch component. You should only have one option and it should be an export option that coresponds to the radius of your circle. Accept this.

    5.

    Select your Spreadsheet component. When you do this, a box will appear in the bottom left window asking if you would like to 'Import' or 'Export' data. Click on the import option. Now go back to the spreadsheet, choose cell A2 and right click. We will use this cell to store the radius of the circle.

    6.

    Using normal spreadsheet syntax (i.e. =3.14*A1*A1 for a formula to calculate the area of the circle etc.) you can now calculate the area of the circle, the area of the square, and the ratio of teh two in cells A2 to A4. You can use cells A1 to A4 for the appropriate labels.